Makeup brushes for beginners get oversold as sprawling kits: twenty handles, five nearly identical eye fluffies, and a pouch you never unzip again. You do not need that. A short list of essential makeup brushes—roughly five roles—covers base, set, cheek color, and simple eyeshadow for almost every everyday look. Fewer clean brushes will outperform a crowded, dirty beginner makeup brush set every time.
Here: the only makeup brushes you need to start, what each one does, what you can skip for now, the synthetic-versus-natural basics that actually matter, and how to wash the set so it stays worth keeping.
Disclosure: This article may contain affiliate links. If you buy through them, we may earn a commission at no extra cost to you. We only recommend products that fit our editorial criteria.
Why fewer brushes work better
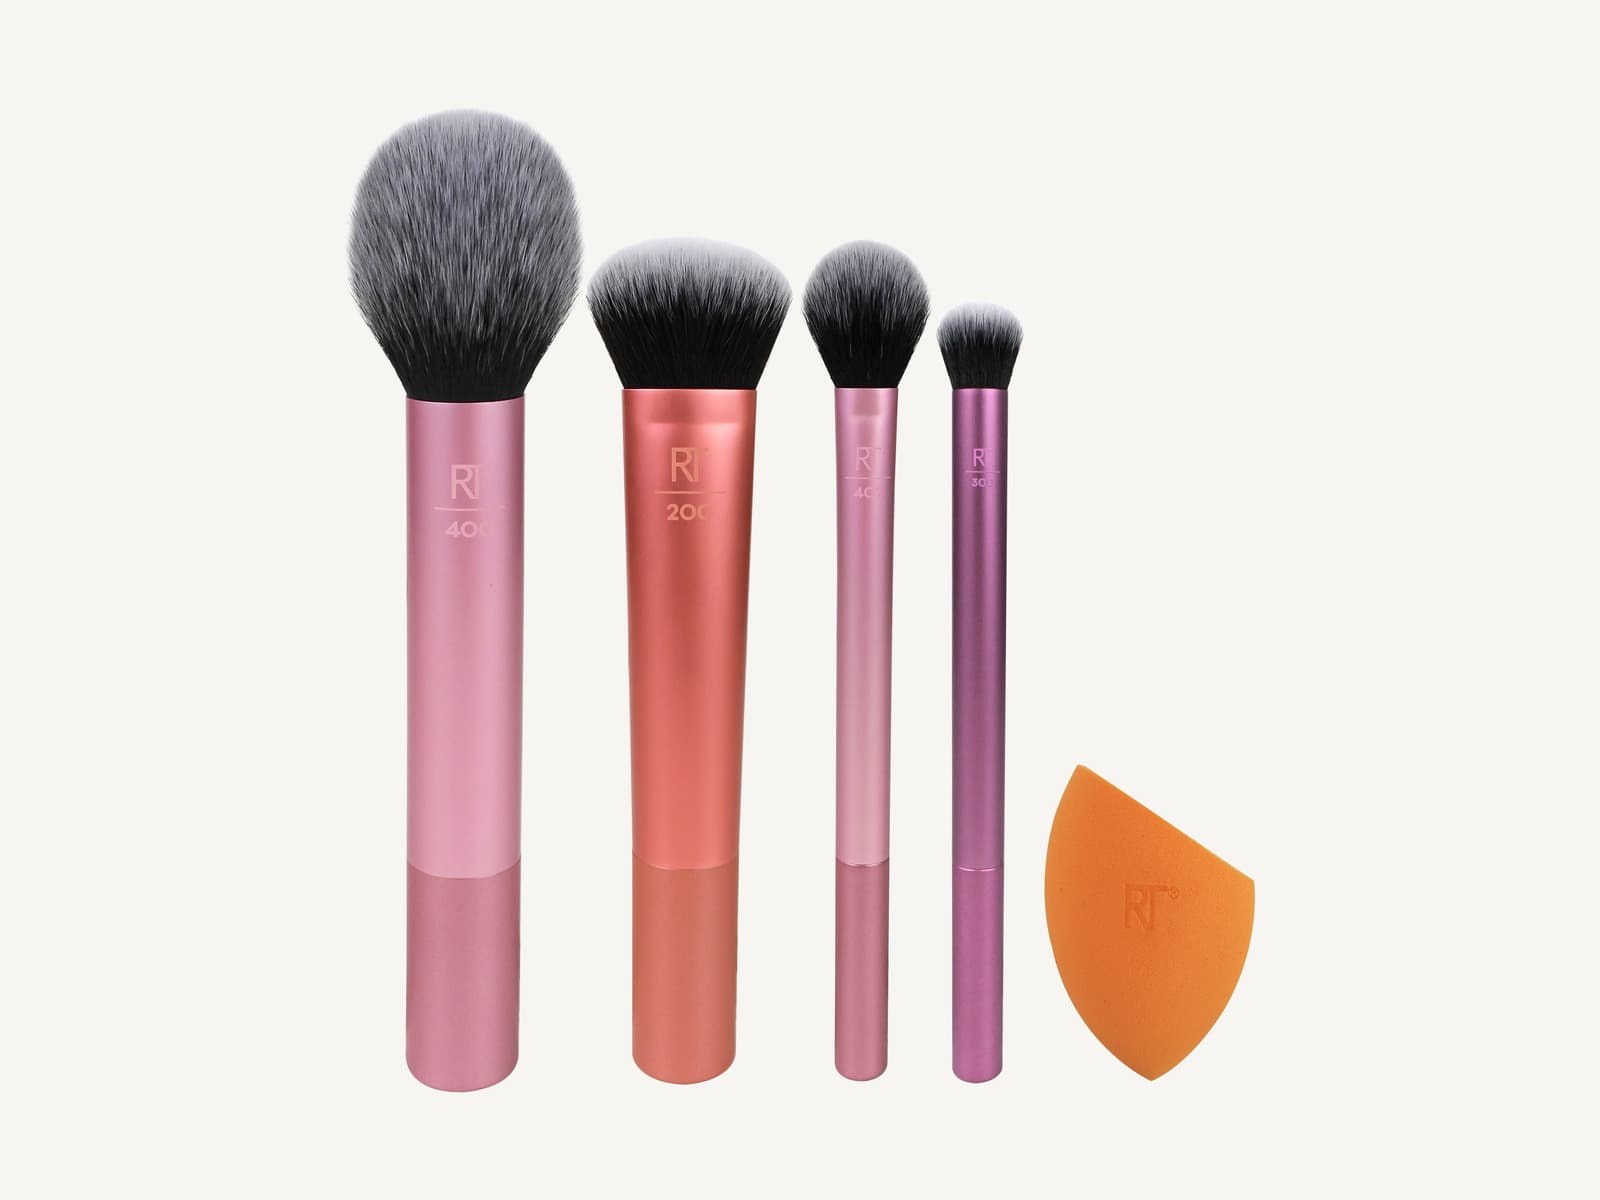
Each brush should earn its place by doing a job another tool cannot do as well. When your kit balloons, three problems show up fast:
- You hesitate — too many similar shapes slow you down in the morning.
- You skip cleaning — more tools mean more sinks full of bristles, so bacteria and leftover pigment build up.
- You blame your skill — muddy eyeshadow is often a dirty or oversized blender, not a lack of talent.
A minimal kit trains your hands. You learn pressure, placement, and how much product to pick up. That education transfers when you add specialty brushes later. Quality of fiber, ferrule, and balance matters more than piece count—before you fall for color-coded sets, check how a face brush should feel before color.
Starter path
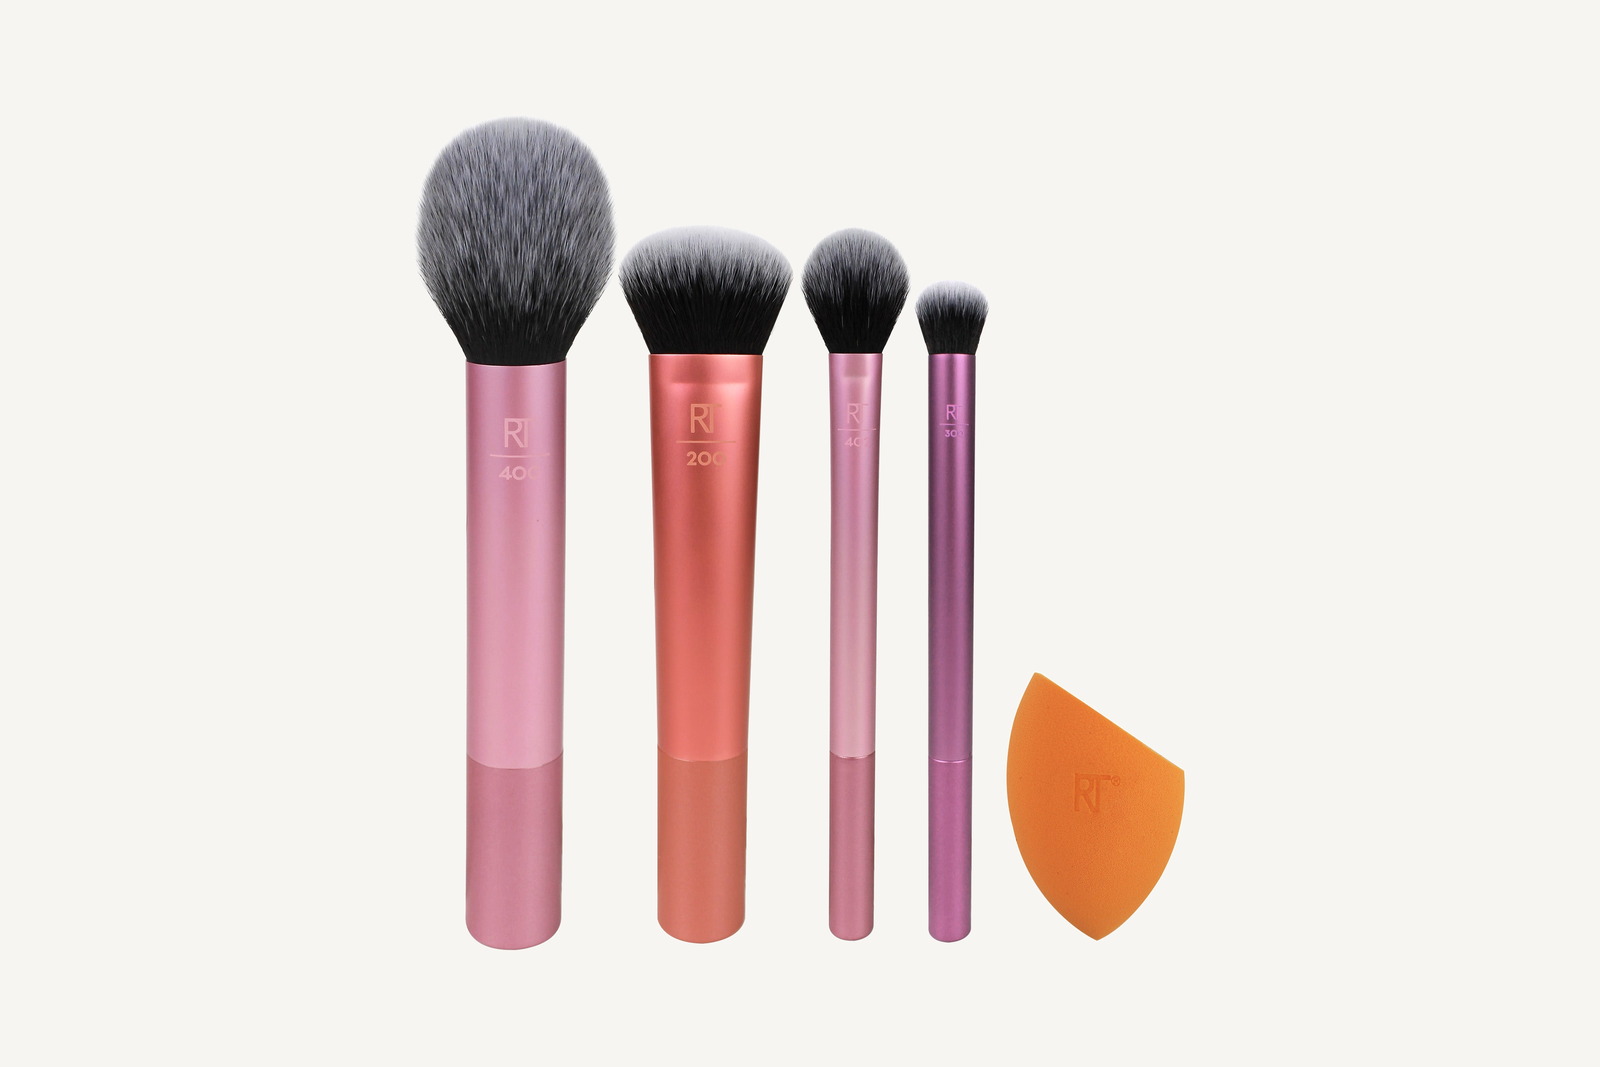
Buy one small set or five singles—whichever you will actually wash. Common U.S. drugstore starters in this shape language include Real Techniques Everyday Essentials–style and EcoTools five-piece–style kits: type examples with public price bands you will see on shelf, not a scored ranking. Either path works if each handle has a clear role.
The five brushes that do the real work
Shop by role, not by brand podium. The shapes below are type examples you will see across drugstores and beauty retailers—not a scored “best of” list.
Foundation / base brush
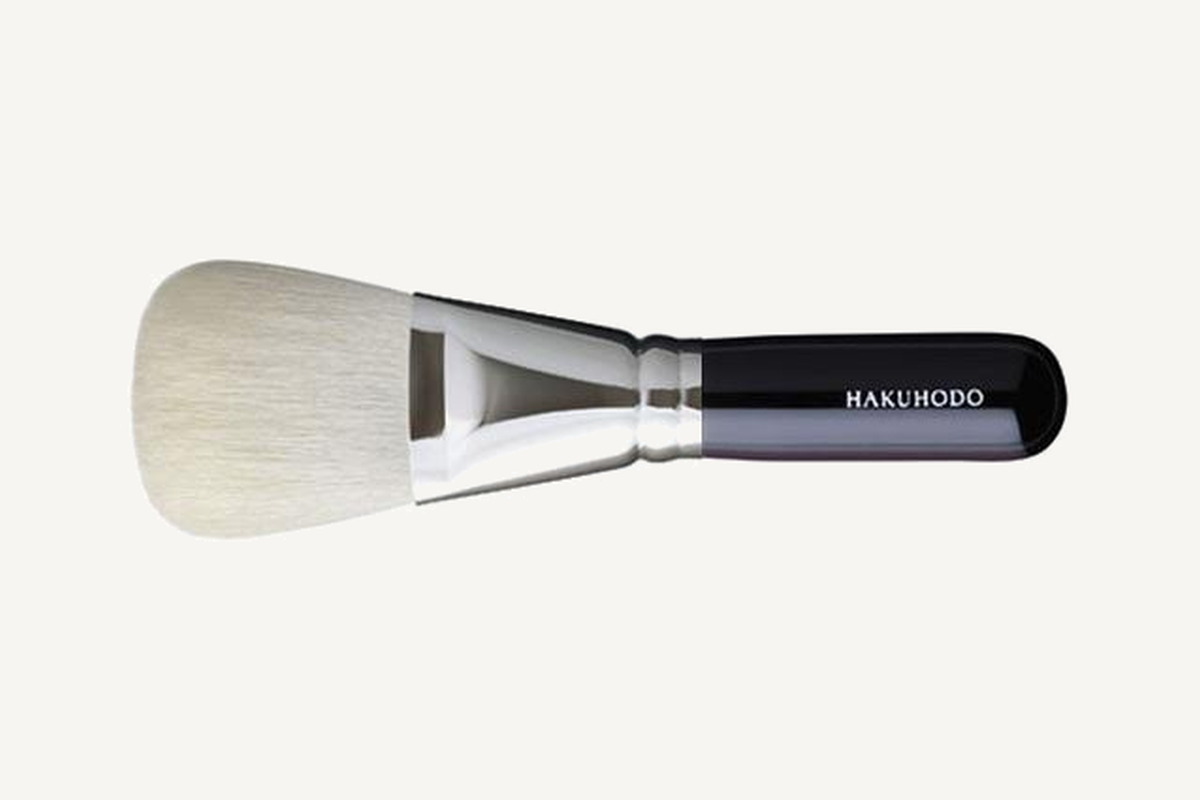
Shape: Usually a dense flat-top kabuki, a softly rounded buffing brush, or a medium duo-fiber head for lighter coverage.
Job: Spread and blend liquid or cream foundation (and tinted moisturizer) evenly across the face.
Beginner tip: Work in thin layers. Stipple or buff outward from the center of the face. A common mistake is dragging a dry, product-heavy brush in long strokes, which can leave streaks. Dampen slightly only if the brush brand allows it—many synthetics work fine dry with modern formulas.
Fingers or a sponge can also apply base; brushes shine when you want speed and a bit more polish. A fuller brush-versus-sponge comparison belongs in its own piece—for now, one solid base brush is enough to start.
Powder brush
A large, fluffy dome (or slightly flat dome) dusts loose or pressed powder to set foundation, blur T-zone shine, or lay a light all-over veil. Tap off excess before it hits your face—pressing an overloaded powder brush into the skin is how makeup turns chalky. With only four tools, this brush can also do a sheer wash of bronzer; clean between roles, or accept slight tint transfer.
Cheek brush
Shape: Medium angled or softly rounded brush—smaller than a powder brush, denser than a huge fluffy dome.
Job: Blush, and often bronzer or cream-to-powder cheek color with a light hand.
Beginner tip: Smile lightly and place color on the upper apple, then blend back toward the hairline (or follow your preferred sculpt). The usual error is a brush that is too big, which dumps pigment onto the nose and temple. If your only cheek brush feels huge, use the tip and less product.
Flat shader (eyeshadow packing brush)
Flat, somewhat dense, paddle-like—the brush that packs eyeshadow onto the lid with control, especially medium and deeper shades you do not want floating everywhere. Press color on; do not swipe. Swiping is how fallout lands on your cheeks. Wipe the brush on a tissue when switching shades so a dark leftover does not muddy a light lid.
Blending brush
Shape: Soft, tapered or fluffy eye brush—less dense than the flat shader.
Job: Soften edges, smoke a crease, and merge shades so eyeshadow looks intentional instead of striped.
Beginner tip: Use almost no product at first; a blending brush is often a diffuser, not a loader. Circular or windshield-wiper motions at the crease with a light hand beat scrubbing. If edges look muddy, the brush may be dirty or overloaded—clean it and try again with less pigment.
| Brush | Primary job | Skip using it for… |
|---|---|---|
| Foundation / base | Liquids & creams on face | Packing dark eyeshadow |
| Powder | Setting & soft powder application | Precise cream concealer detail |
| Cheek | Blush / bronzer placement | All-over foundation |
| Flat shader | Packing lid color | Soft crease blending alone |
| Blending | Softening eye edges | Loading wet full-coverage base |
What you can skip (for now)
You can build a polished everyday face without these until curiosity (or a specific technique) demands them:
- Fan brushes — mostly cleanup and highlight fluff; nice later, not core
- Tiny pencil and detail brushes — useful for liner precision; optional if you use pencil or liquid liner with its own tip
- Separate contour, highlight, and bronzer trios — one cheek brush multitasks at the start
- Specialty cut-crease or smudge brushes — technique-specific
- A 20-piece mirrored set — impressive in photos, exhausting to maintain
Optional sixth tool many beginners eventually add: a small concealer brush or a clean fingertip for under-eyes. It is helpful, not mandatory, on day one.
If you must compress further, a four-brush multitask path is: base, powder (doubling for sheer cheek color), flat shader, blender—accepting that cheek placement will be less precise.
Synthetic vs natural—only what beginners must know
You do not need a materials science lecture. Remember this:
- Synthetic fibers are the practical default for liquids and creams (foundation, cream blush). They tend to pick up and release modern formulas cleanly and are straightforward to wash. They also suit anyone avoiding animal hair.
- Natural hair brushes are traditionally praised for diffusing loose powder eyeshadow, but quality synthetics now cover most beginner powder work well.
- Hygiene and preference matter more than mystique. A soft synthetic you clean weekly beats a fancy natural brush that sits dirty.
When you shop singles or a small beginner makeup brush set, prioritize soft tips that do not scratch, a ferrule that does not wobble, and a handle length you can control. Hand feel first—color second.
The same brush shapes exist at the drugstore and at Sephora or Ulta. Match density and handle feel first; stepping up in price does not automatically fix a shape you will not use. Treat the aisle as a ladder of the same roles, not a ranking of brands.
How to clean so the set stays worth keeping
A five-brush kit only stays “the only makeup brushes you need” if it stays clean.
Face brushes (foundation, powder, cheek): aim for about once a week with regular use. Spot-clean with a quick brush spray or gentle soap when foundation starts to smell off or look stained sooner.
Eye brushes (flat shader, blending): every one to two weeks, or sooner if you switch between very light and very dark shadows and see muddy residue.
A sink-side wash
At the bathroom sink:
- Wet bristles with lukewarm water—keep water away from the ferrule (the metal band). Soaking the ferrule loosens glue and sheds hair.
- Swirl on a mild brush cleanser or gentle soap in your palm or on a textured cleaning mat. A drop of baby shampoo or a Cinema Secrets–class brush cleanser is enough for beginners—keep water out of the ferrule.
- Rinse until water runs clear.
- Gently squeeze sideways in a clean towel; reshape the head.
- Dry flat or hanging with tips down/angled, never standing bristle-up in a cup while wet (water runs into the ferrule).
Between deep washes, wipe eye brushes on a clean cloth or use a quick-clean spray when changing colors mid-look.
Dirty brushes cause breakouts for some people and muddy color for everyone. “How many makeup brushes do I need?” is partly “how many will I actually wash?”
What MUA-style advice usually repeats
Dense but soft heads, fewer brushes you will actually wash, and face brushes cleaned about weekly. That is the practical chorus—not a fabricated interview reel. Skip the twenty-piece kit until your five roles feel automatic.
FAQ
How many brushes do beginners need?
About five core roles—foundation/base, powder, cheek, flat shader, and blending—cover most everyday makeup. You can start with four if one powder brush doubles for soft cheek color. You do not need a twenty-piece kit to look put together.
Can I use fingers instead?
Yes for cream products and some base application. Fingers warm creams nicely. Brushes help with powder control, even foundation edges, and eyeshadow placement that fingers tend to overblend. Many routines mix both.
Brush set or singles?
A small, well-chosen set can be convenient if each piece has a clear role and soft, sturdy construction. Singles let you upgrade the base brush first (the one that works hardest) without paying for fillers. Either way, skip mega-sets packed with near-duplicates.
Brush-slot count in a makeup bag is not how many brushes a beginner needs. For open-mode structure, see lay-flat drawstring mats vs zip trays; for how elastic slots compare to mesh pockets inside the bag, see makeup bag brush holders: slots vs mesh.
How we pick
We recommend brush roles and care habits, not invented lab scores or “we tested 40 kits” theater. Product mentions are category examples of shapes you will commonly find at major beauty retailers. Affiliate links added later will follow the same standard: clear purpose, beginner-friendly shape, and build quality you can maintain—because a short, clean kit is the real essential.